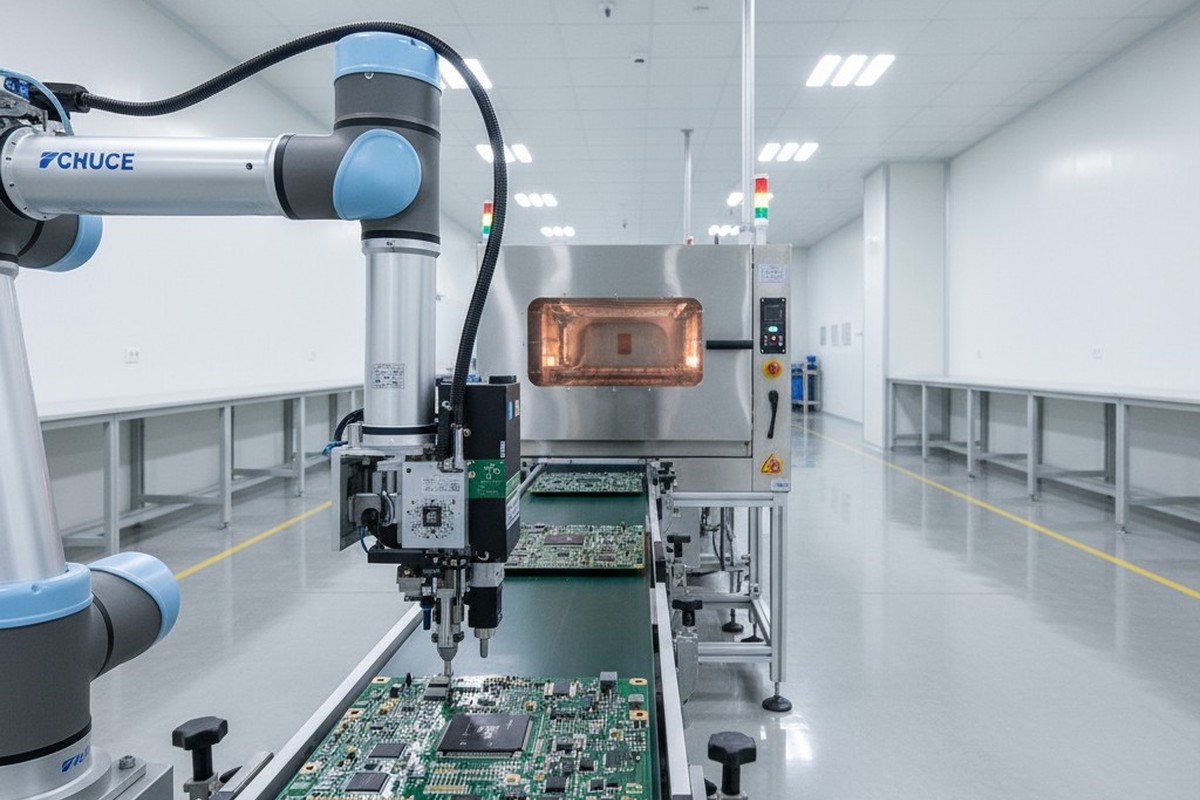
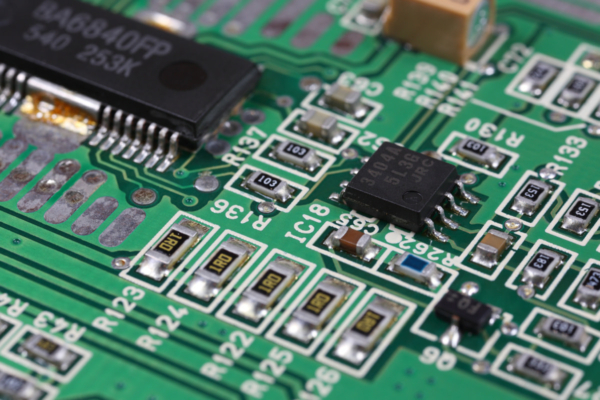
The Production Part Approval Process isn’t inherently painful. The drama, the last-minute scrambles, and the audit findings that halt production are symptoms of a deeper failure—one that occurs months earlier, during APQP planning. When a PCBA manufacturer treats automotive quality as a documentation exercise instead of an integrated system, PPAP becomes an archaeological dig through incomplete records and unvalidated processes. The bill comes due in delays.
At Bester PCBA, we see automotive-grade manufacturing as a fundamentally different discipline. The standards aren’t arbitrary and the rigor isn’t negotiable. Automotive electronics must function flawlessly for fifteen years across temperature extremes, often in safety-critical systems where a single failure can trigger million-dollar recalls or endanger lives. This reality shapes every aspect of how we build, validate, and document PCBA for the automotive sector.
This is the quality architecture required to clear automotive audits on the first pass. We’ll detail APQP planning that creates clarity, not just paperwork; control plans and FMEA strategies that reveal genuine process understanding; and the non-negotiable traceability and AEC-Q requirements for responsible manufacturing. The path from design input to PPAP submission should be a logical progression where each step validates the last, not a gauntlet to be survived.
Why Automotive PCBA Is a Different Species of Manufacturing
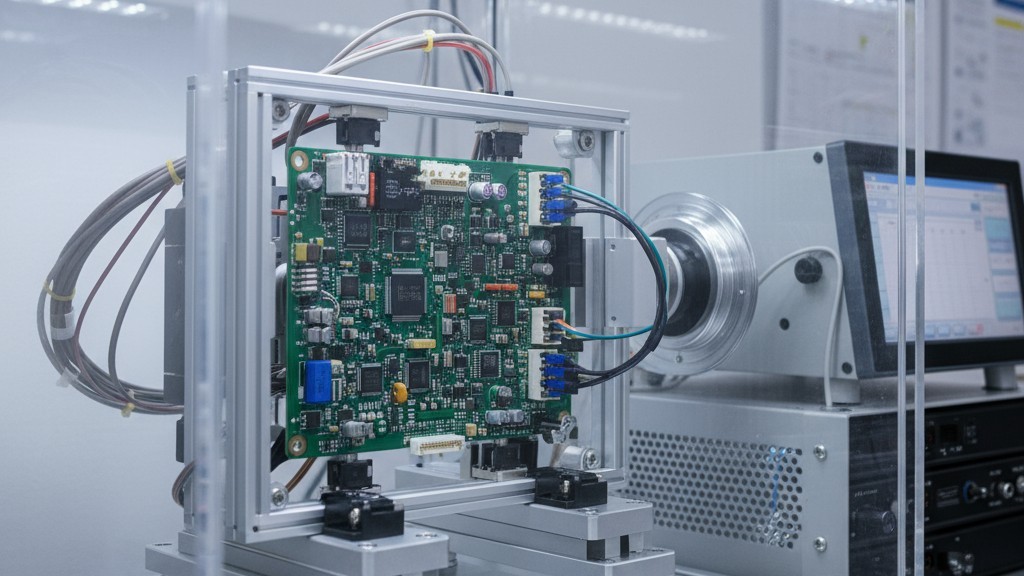
Automotive electronics operate in an environment that commercial and even industrial boards rarely encounter. Consider the thermal punishment. Engine bay assemblies routinely cycle from -40°C during cold starts to over 125°C under load, thousands of times a year, for more than a decade. Add vibration profiles that would destroy consumer electronics in days and the expectation of zero unplanned maintenance. These requirements fundamentally change how components are selected, processes are controlled, and quality is validated.
The contrast with IPC Class 3 standards is illustrative. IPC-A-610 Class 3 defines stringent acceptability criteria for high-reliability electronics like aerospace and medical devices. These are necessary, but not sufficient for automotive. Automotive standards, governed by IATF 16949, demand closed-loop process control, full component traceability, and quantified process capability metrics that many commercial facilities have never implemented. The quality system itself must be designed for a zero-defect aspiration, validated through statistical methods, not just sampling.
This is where AEC-Q qualification becomes the technical backbone of automotive PCBA. The Automotive Electronics Council publishes standards for components: AEC-Q100 for integrated circuits, AEC-Q200 for passives, and AEC-Q101 for discrete semiconductors. These documents specify stress testing protocols—temperature cycling, high-temperature operating life, humidity exposure, mechanical shock—that prove a component’s reliability under automotive conditions. A component without AEC-Q data is a statistical unknown. It might survive, or it might fail at scale. The automotive industry does not tolerate that uncertainty.
The Failure Cost Equation is not a matter of cultural preference; it is an engineering response to a brutal economic reality. A field failure in a consumer product might cost twenty dollars in warranty. A failure in an automotive safety system can trigger a recall affecting hundreds of thousands of vehicles, each requiring dealer service at $200 per unit in labor alone. When you add brand damage and potential litigation, failure costs are measured in tens of millions. Spending an extra two percent on qualification and process control isn’t overhead. It’s insurance with a measurable return.
APQP Is the Master Plan, Not a Checklist
Advanced Product Quality Planning (APQP) is the framework that transforms automotive quality requirements from an overwhelming list into a sequenced, manageable process. APQP is not a document; it is a methodology for organizing cross-functional work across five phases, from concept through production and continuous improvement. The goal is to surface risks and validate solutions before production begins, so that the Production Part Approval Process (PPAP) submission is a formality, not a crisis.
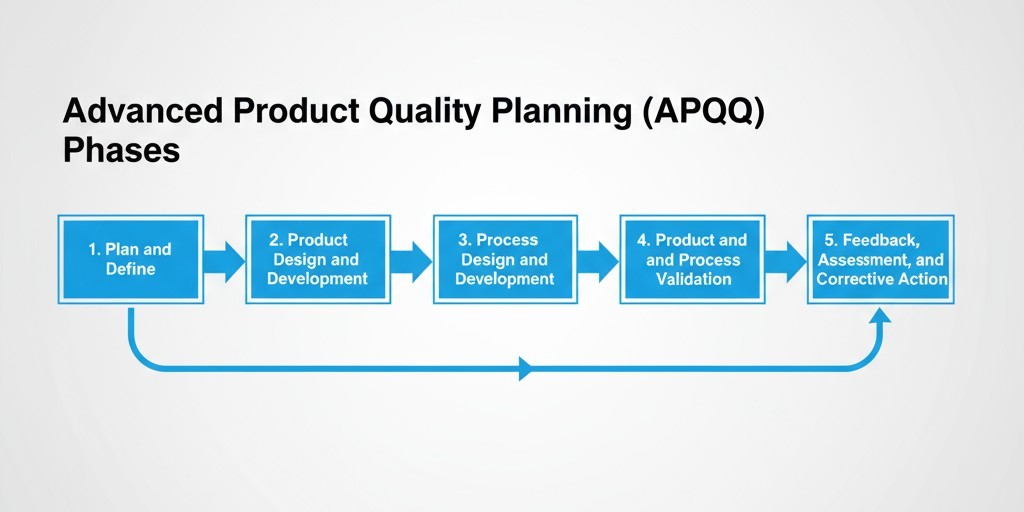
The five phases are strictly sequential. Each has defined inputs, activities, and outputs that feed the next.
- Plan and Define: Establishes design goals, reliability targets, and the preliminary bill of materials.
- Product Design and Development: Finalizes the design, conducts Design FMEA, and creates validation plans.
- Process Design and Development: Defines the manufacturing process, conducts Process FMEA, develops control plans, and validates process capability.
- Product and Process Validation: Executes production trials, measures capability indices, and finalizes PPAP documentation.
- Feedback, Assessment, and Corrective Action: Implements continuous improvement post-launch.
The discipline lies in not skipping steps. When a customer provides incomplete design inputs in Phase One—vague reliability targets or uncertain production volumes—the temptation is to proceed and “figure it out later.” This is the original sin of APQP. Ambiguity in Phase One cascades into rework in Phase Two, instability in Phase Three, and validation failures in Phase Four. At Bester PCBA, we have a firm policy: we do not exit Phase One until design inputs are complete, documented, and signed off. A temporary delay to clarify requirements in week one prevents a catastrophic delay from a process redesign in month six.
Where manufacturers typically fail is by treating APQP as a documentation requirement. They generate the checklist, populate dates, and file it away. The actual work—the cross-functional reviews, the failure mode brainstorming, the capability studies—happens informally or not at all. This leads to a Phase Four validation that uncovers problems that should have been solved in Phase Two. The path forward is to staff APQP phases with decision-makers, not administrators, and to treat phase exits as engineering gates, not calendar milestones.
Understanding PPAP’s role clarifies why this rigor matters. PPAP is the final exam, the formal submission proving the manufacturing process can meet all requirements at production volumes. APQP is the semester of study. If the work is thorough, PPAP is a straightforward compilation of existing evidence. If APQP was performative, PPAP exposes every shortcut.
Control Plans That Actually Control
A control plan is a living document specifying how a manufacturing process will be monitored to ensure consistent output. For automotive PCBA, it lists every process step, identifies critical characteristics, defines measurement methods, and assigns responsibility. The difference between a compliant control plan and an effective one is whether it reflects genuine process understanding or was simply populated to satisfy an auditor.
An effective plan begins with the Process FMEA, which identifies potential failure modes like solder bridging or component misalignment. The control plan is the operational response. It must define the specific controls that reduce the chance of a failure, the inspection methods that improve its detection, and the reaction plan when a characteristic drifts. There must be a direct line from each high-risk FMEA failure mode to a corresponding control. If the FMEA flags solder paste volume as a high-occurrence risk, the control plan must specify SPC monitoring of print thickness with defined control limits and escalation procedures.
Auditors immediately scrutinize the distinction between reactive and preventive controls. Reactive controls detect defects after they occur: post-reflow optical inspection or functional test. Preventive controls stop defects from happening in the first place: stencil aperture optimization, closed-loop reflow oven profiling, and component moisture sensitivity tracking. A control plan dominated by reactive controls signals a process that is not fully understood or capable. It relies on catching errors rather than preventing them.

At Bester PCBA, our control plans prioritize prevention. For solder paste application, we specify stencil print inspection with SPC charting, not just downstream AOI. For reflow, we validate thermal profiles against component requirements and monitor oven zone temperatures with SPC, responding to drift before it affects output. This approach reduces the defect generation rate, which is fundamentally more reliable than increasing the defect detection rate.
Component obsolescence is a reality in automotive programs with 10- to 15-year lifecycles, and it must be addressed within the control plan. When a component is flagged as “last-time-buy,” the control plan should trigger a documented review of alternatives and qualification of second sources. We embed obsolescence monitoring into our material control procedures, transforming a potential crisis into a managed variable.
FMEA Without the Theater: Failure Modes That Matter
Failure Mode and Effects Analysis (FMEA) should be a systematic method for identifying process risks and prioritizing preventive action. Too often, it becomes a theatrical exercise. Teams populate spreadsheets with worst-case scores, generate inflated Risk Priority Numbers (RPNs), and file the document without changing a single process parameter. The result is a comprehensive-looking artifact that provides zero operational value.
Effective FMEA begins with understanding the difference between a Design FMEA (DFMEA) and a Process FMEA (PFMEA). For a PCBA manufacturer, the PFMEA is the primary tool.
- Design FMEA (DFMEA) is the design team’s responsibility. It asks: What can go wrong with the design itself? This includes component selection errors, inadequate thermal derating, or missing ESD protection. The output is design changes. A PCBA manufacturer provides input on manufacturability but does not own the DFMEA.
- Process FMEA (PFMEA) is the manufacturing team’s responsibility. It asks: Assuming the design is correct, what can go wrong during assembly? This includes solder paste defects, placement errors, reflow deviations, and handling damage. The output is process controls. Our PFMEA workshops involve process engineers, quality engineers, and operators, because the people who run the line understand failure modes a checklist will never capture.
The RPN Trap and Why Detection Ratings Deserve More Attention
The Risk Priority Number (RPN) is calculated by multiplying Severity, Occurrence, and Detection ratings. Its appeal is a single number for prioritization, but this is a trap. A high-severity, low-occurrence failure (Severity 10, Occurrence 2, Detection 3 = RPN 60) requires a different response than a moderate-severity, high-occurrence one (Severity 5, Occurrence 6, Detection 2 = RPN 60). Multiplication obscures these critical distinctions.
Detection ratings are systematically undervalued, yet they are the most actionable variable for a manufacturer. Severity is often fixed by the application; a solder joint failure in a brake controller has an inherently high severity. Occurrence can be reduced, but it often requires significant investment. Detection, however, can be improved quickly with better inspection methods or statistical process control.
At Bester PCBA, we focus FMEA action plans on any failure mode with a Detection rating above five, meaning current controls are unlikely to catch the defect. Improving detection from a seven to a three—by adding an inline inspection, for example—can dramatically reduce field risk without redesigning the entire process. An FMEA that results in zero process changes is performance art, not engineering.
Traceability Systems Built for Audits and Recalls

In automotive PCBA, traceability is the ability to reconstruct the complete genealogy of a finished assembly: which components from which lots were assembled on which line, by which operator, on which date. This granularity is not bureaucratic. It serves two non-negotiable needs: passing an audit, where an auditor demands a full production history for a random serial number in minutes, and executing a targeted recall, isolating only affected units instead of an entire production run.
Lot traceability is the minimum standard, tracking materials by production batch. If a supplier flags a specific component lot as suspect, the manufacturer can identify and quarantine all finished assemblies containing that lot. This is sufficient for non-safety-critical applications but results in broader recall exposure.
Serialization provides unit-level traceability, assigning a unique ID to each assembly. In a recall, this can reduce the scope from thousands of units to dozens. It is the gold standard for safety-critical electronics like powertrain controllers or braking systems. Serialization requires investment in data systems and MES integration, but the recall cost avoidance and audit readiness justify the expense. At Bester PCBA, we implement serialization by default for automotive programs.
Lot Traceability vs. Serialization
Lot traceability is appropriate for high-volume, non-critical modules where the cost of a broader recall is acceptable. Serialization is required when the product is safety-critical, when failure analysis demands unit-level history, or when the customer mandates it. The decision hinges on customer requirements, failure consequences, and the trade-off between traceability cost and recall exposure.
The Data Architecture Behind Audit-Ready Traceability
A traceability system is only as reliable as its data architecture. The core is a relational database linking every unit or lot to its materials, process parameters, test results, and personnel. This database must be tamper-evident, persistent for 15+ years, and queryable in both directions: forward from a component lot to all affected units, and backward from a finished unit to all its inputs.
Common audit findings reveal where systems fail: incomplete lot code recording (especially for passives), paper travelers that are never digitized, and databases that can’t link materials to finished assemblies. We address these by implementing automated data capture at every critical step, using barcode scanning and MES integration to eliminate manual transcription and designing database schemas for the precise queries auditors will execute.
The AEC-Q Non-Negotiables for Components and Assemblies
AEC-Q qualification is the baseline that separates automotive-grade components from commercial parts. The standards—AEC-Q100 for ICs, AEC-Q200 for passives, and AEC-Q101 for discretes—specify stress tests that simulate fifteen years of automotive service. The resulting data provides statistical confidence in a component’s reliability. Without it, reliability is just an assumption.
For passive components like resistors and capacitors, AEC-Q200 is the governing standard. The tests are severe; temperature cycling, for example, requires one thousand cycles from -55°C to 125°C. For high-reliability applications, Grade 0 components are qualified to 150°C. We require AEC-Q200 qualification documentation for all passives in automotive builds and verify that the specific part number is listed in the report, not just the component family.
AEC-Q200 for Passives and AEC-Q100 for Actives
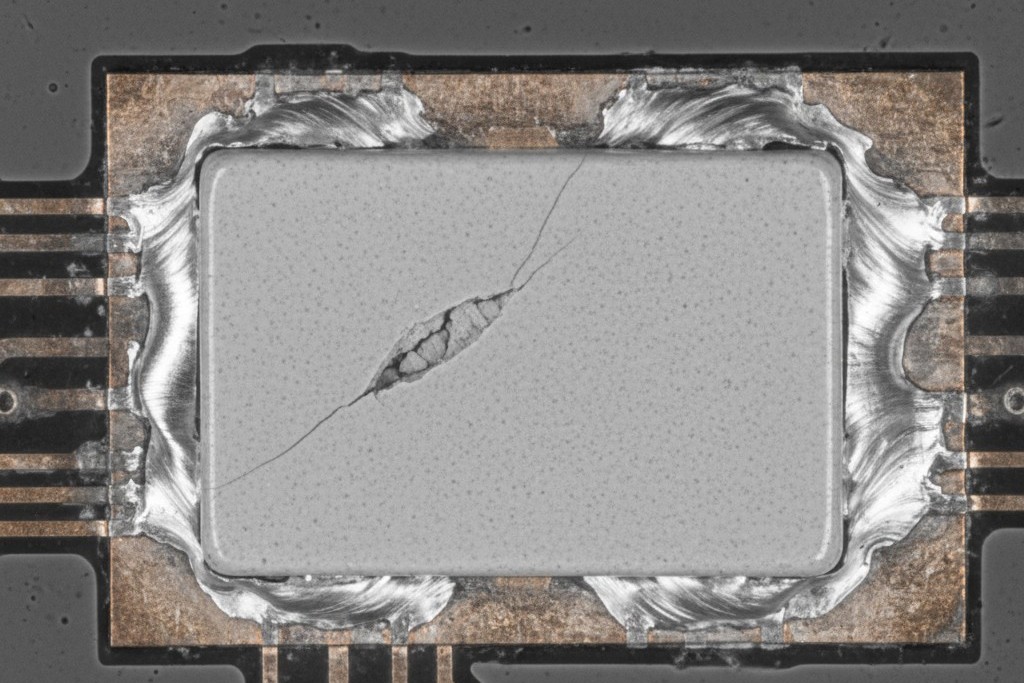
AEC-Q200 addresses passives, which are often dangerously overlooked. Ceramic capacitors can develop micro-cracks during reflow, leading to catastrophic failure. Resistors can drift out of tolerance under prolonged heat. AEC-Q200 data confirms that a component has been validated against these latent failure modes.
AEC-Q100 governs active components like microcontrollers and power management ICs. The extensive test regimen validates both the silicon die and the package against electrical, thermal, and mechanical stress. The standard also defines qualification grades based on maximum junction temperature, with Grade 1 (125°C) being the typical minimum for automotive and Grade 0 (150°C) required for under-hood applications.
The component manufacturer bears the qualification burden, but the PCBA manufacturer must verify it. During APQP Phase Two, we review the qualification report for every component on the BOM. If a part lacks current qualification data, it is a non-negotiable red flag. We do not proceed to production with unqualified components in an automotive BOM.
What Qualification Data You Must Demand from Your CM
When engaging a contract manufacturer, the quality agreement must be explicit. The CM must provide evidence of AEC-Q qualification for every component, including the full report identifying the specific part number. They must also show evidence of supply chain qualification to prevent counterfeits.
For the assembly process itself, qualification is documented through PPAP. The manufacturer must prove process capability through statistical studies (often requiring Cpk values of 1.33 or higher) and production trial runs. Measurement System Analysis (MSA) is a critical supporting element, confirming that the tools used to measure critical characteristics are themselves reliable. We conduct MSA studies on all critical measurement systems to ensure measurement error is a small fraction of the tolerance, typically less than 10%.
What Makes PPAP Painful and How to Defuse It
PPAP pain is a lagging indicator. It shows up as incomplete documentation and frantic last-minute efforts to compile evidence that should have been generated months earlier. The root cause is almost never a failure to understand the 18 PPAP elements; the manual is explicit. The root cause is a failure to execute APQP with discipline. When APQP is rigorous, PPAP is straightforward.
The 18 PPAP elements are a comprehensive bill of evidence demonstrating that the manufacturing process is understood, controlled, and capable. Each element maps directly to an APQP phase output. The DFMEA comes from Phase Two. The PFMEA and control plan come from Phase Three. The initial process studies and sample parts come from Phase Four.
The 18 PPAP Elements and the Ones That Cause the Most Drama
Certain elements consistently create delays because they require data from validated production runs, statistical analysis, or external labs.
- Initial Process Studies: These require running production volumes to calculate Cpk or Ppk. If the process isn’t capable (Cpk < 1.33), PPAP is delayed. We validate capability during APQP Phase Three pilot runs, not during PPAP prep, to allow time for improvement.
- Material and Performance Test Results: Lab testing can take weeks. A failure adds months for root cause analysis and retesting. We identify required tests in Phase One and schedule them during Phase Three so results are available before PPAP compilation.
- Customer Engineering Approval: This depends on the customer’s review cycle. We treat customer approval as a Phase Two exit criterion, not a PPAP-stage task.
- Measurement System Analysis (MSA): A proper Gage R&R study is time-consuming. We build MSA into our Phase Three timeline as a dedicated project, ensuring measurement systems are validated before production runs begin.
If APQP was rigorous, the other elements—design records, process flows, FMEAs, control plans—are simply the natural outputs of the work already completed.
How Upstream Rigor in APQP Eliminates Downstream PPAP Chaos
The causal chain is direct. When Phase One design inputs are complete, design records are resolved early. When Phase Three includes pilot runs, control plans are tested against reality and capability gaps are closed. When Phase Four validation runs use production tooling and materials, the PPAP sample parts and process studies are generated as byproducts, not as separate efforts.
Our PPAP submission is integrated into the APQP project plan from day one. We map each PPAP element to the APQP phase that generates it and set phase exit criteria to confirm completion. Preparation becomes a compilation task, not a data-gathering expedition. We even schedule a pre-PPAP internal audit to flag gaps while there is still time to fix them.
The ultimate strategy is to treat PPAP not as a gate to be survived, but as validation that the quality system worked. The drama is optional. The discipline is not.
