You’ve seen the report. The production line data shows green across the board. Every single insertion force curve was within spec. The retention checks at the end of the line required the standard 30 Newtons to unseat the pin. The Quality Assurance manager signed off, the pallets were wrapped, and the container left the dock. Yet, three months later, the field returns are piling up. Customers are reporting intermittent power loss, sensor resets, or connectors that have physically backed out of the PCB.
This is the “ghost” failure of the interconnect world. It’s maddening because, at the moment of assembly, the product was perfect. The datasheet said the pin fits the hole. The insertion machine confirmed the force was nominal. But physics doesn’t stop when the box is taped shut. If you rely on room-temperature validation to predict the behavior of a compliant pin over five years of thermal cycling, you aren’t testing for reliability; you’re testing for luck. The failure mechanism isn’t the insertion. It’s the invisible war between the pin, the copper barrel, and the relentless expansion and contraction of materials during transport and operation.
The Physics of Letting Go
To understand why a pin falls out, forget friction. Think stored energy. A press-fit joint works because you have forced a compliant spring (the pin) into a rigid barrel (the plated through-hole). The pin compresses, storing potential energy. This energy pushes back against the copper walls, creating the “normal force” that generates friction and a gas-tight electrical seal. On Day 1, this force is at its peak. The metal is springy, the copper is fresh, and the grip is tight.

But metal isn’t a static solid; it flows. Over time, under high stress and temperature, the atomic structure of the copper pin and the PCB plating begins to rearrange itself to relieve that internal stress. This is stress relaxation. Consider a shipment of industrial controllers sent via sea freight from a humid summer in Taiwan to a warehouse in Dubai. Inside that shipping container, temperatures can easily cycle between 20°C at night and 60°C or higher during the day. For four weeks, that connector is baking.
At 60°C, the relaxation process accelerates. The copper alloy of the pin (especially if it’s a lower grade like brass rather than a high-performance Phosphor Bronze or Beryllium Copper) begins to yield. It effectively “forgets” its original shape and relaxes into the compressed one. When the unit finally cools down, the pin doesn’t spring back with the same force. The normal force—the only thing holding that connector in place against vibration—has dropped. You might have started with 40 Newtons of retention, but after a month in the “shipping container oven,” you might be down to 15 Newtons. The friction is gone, and the first time the forklift drops the pallet, the inertia of the heavy cable harness pulls the connector loose.
Not all movement is a failure, though. You might wiggle the plastic housing and feel a slight “rocking” motion. This often triggers panic in QA, but the housing isn’t the retention mechanism; the pin-to-hole interface is. The plastic housing floats; the pins must be anchored. However, if that rocking motion translates to the pins themselves moving within the plated through-hole, the gas-tight seal is broken. Oxidation begins immediately, resistance spikes, and the intermittent failures begin.
The Cold War: CTE Mismatch
If heat relaxes the spring, cold breaks the lock. The second invisible enemy is the Coefficient of Thermal Expansion (CTE). Every material expands and contracts at a different rate. The FR4 fiberglass of your PCB has a CTE of roughly 14-17 ppm/°C in the Z-axis. The PBT or Nylon plastic of the connector housing has a CTE that can be three to four times higher.
Imagine a dashboard cluster in a vehicle parked outside during a Scandinavian winter. The temperature drops to -30°C. The plastic connector housing wants to shrink significantly. The PCB wants to shrink, but much less. The plastic housing contracts, pulling on the pins. Since the pins are anchored in the board, this creates a massive shear load. The housing is literally trying to rip the pins sideways or pull them out of the holes.
In a well-designed system, the compliant zone of the pin absorbs this stress. It flexes. But if the pin is too stiff, or if the retention force has already been weakened by stress relaxation, the housing wins. It walks the pins right out of the holes. This is often why you see connectors that look “tilted” in field returns. They didn’t start that way. They were ratchet-jacked out of position, millimeter by millimeter, with every thermal cycle of the engine warming up and cooling down.
The Invisible Variable: The Hole

Engineers obsess over the pin. They argue about the alloy—C7025 vs. C5191—and the geometry of the “eye of the needle.” But they rarely scrutinize the hole. In many cases, the pin is fine, but the board was doomed from the start.
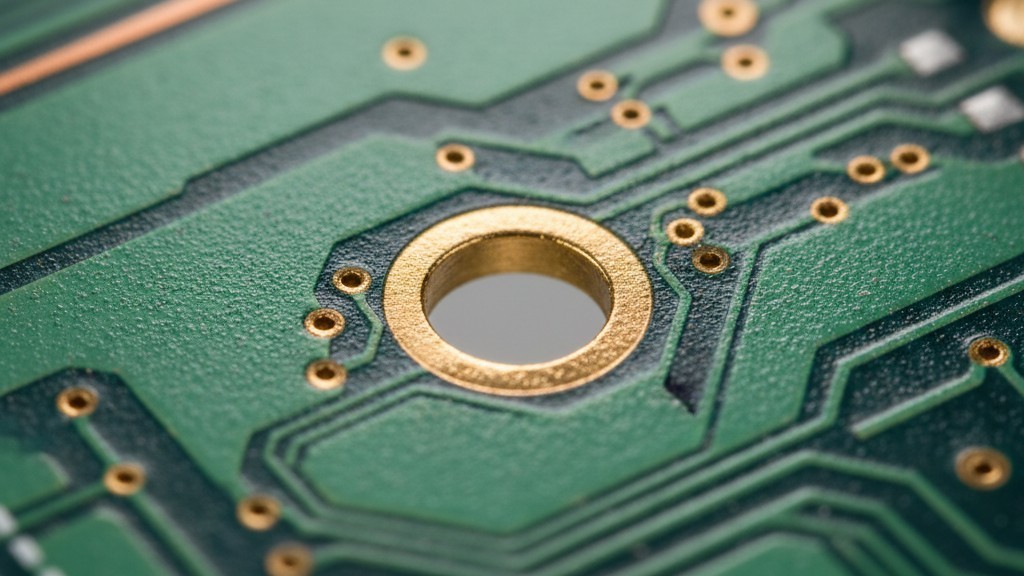
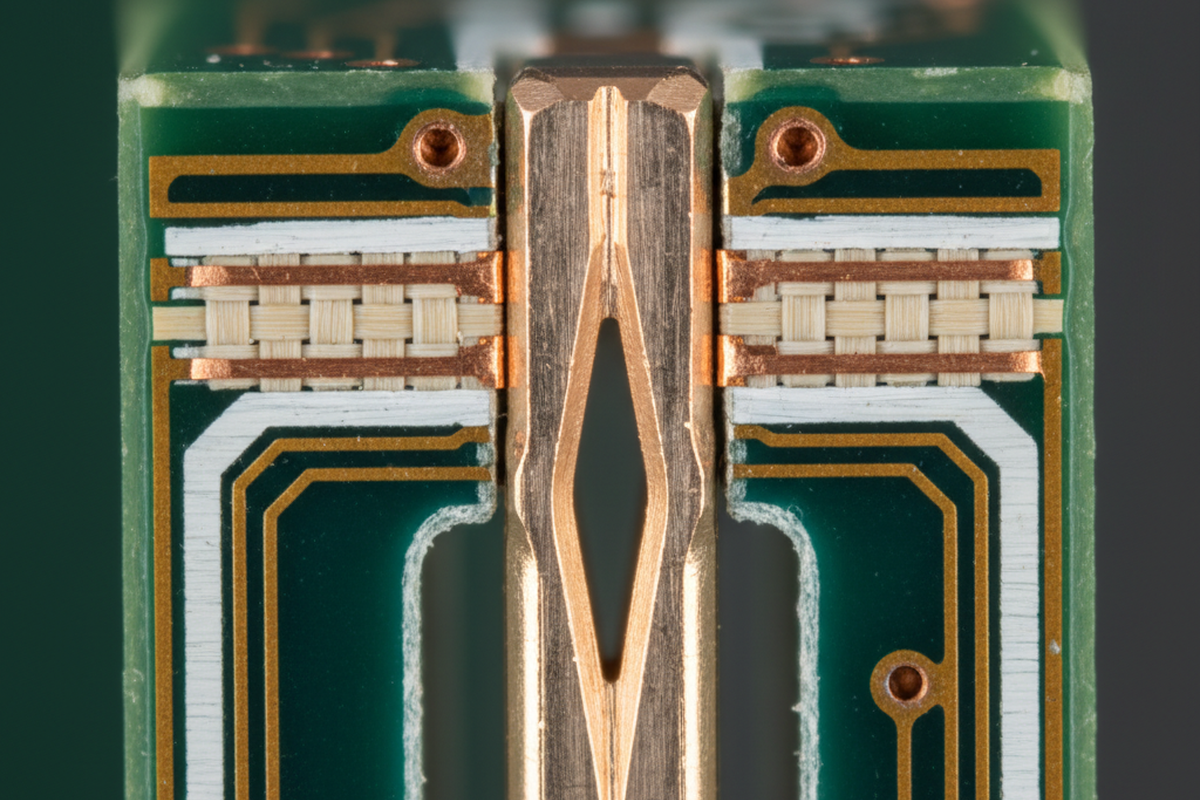
The specification for a press-fit hole is incredibly tight—tolerances of +/- 0.05mm on the finished hole size. But more critical than the diameter is the plating integrity. A standard IPC-6012 Class 2 board might call for an average of 20 microns of copper in the barrel. But plating is never uniform. At the “knee” of the hole—the corner where the barrel meets the surface—the plating can be thinner due to current density distribution during manufacturing.
If a PCB vendor runs the plating bath too fast to save money, you get a “dog bone” effect where the copper is thick at the ends and thin in the middle, or brittle copper that cracks under stress. When you ram a press-fit pin into a hole with brittle or thin plating, the compliant section doesn’t just compress; it tears the copper off the fiberglass wall. You’ve destroyed the mechanical integrity of the anchor before the unit even leaves the factory. The pin feels tight initially because it’s wedged into the glass weave, but glass flows under pressure (creep) much faster than metal. Give it a few weeks of vibration, and that pin will be rattling loose.
False Fixes and Dangerous Band-Aids
When production realizes a batch of connectors is loose, the instinct is to fix it on the fly. The most common—and dangerous—question is: “Can we just wave solder these press-fit pins to hold them in?”
This is the “Soldering Band-Aid,” and it usually makes things worse. Press-fit pins are precision springs. They rely on the temper of the metal to maintain that stored energy we discussed. If you expose that spring to the heat of a wave solder bath (260°C+), you anneal the metal. You soften the spring. You might get a solder fillet on the bottom, but you have destroyed the internal tension that creates the gas-tight seal inside the barrel. Furthermore, the flux from the soldering process can wick up into the contact area, causing corrosion later. Unless the pin is specifically designed as a “hybrid” (which is rare), keep the solder wave away from it.
The second common desperation move is rework. “The operator didn’t seat it fully. Can we press it out and press a new one in?” The answer is almost always no. A press-fit connection is a one-time metallurgical event. The first insertion plastically deforms the copper in the hole. It work-hardens the barrel. If you press a new pin into that same hole, the retention force will be 40-50% lower than the first time. The copper has no more “give” left; it will crack or fail to grip. Unless you have access to oversized “repair pins” (which are logistical nightmares to stock), a botched insertion usually means scrapping the board.
Validation That Actually Predicts Failure
You can’t rely on the datasheet to save you. The vendor’s retention force specs are based on perfect holes drilled in a lab, not the mass-produced boards you are actually buying.
To prevent these field failures, you must validate the system, not just the component. This means taking your specific connector and your specific PCB (from your actual board house, not a prototype shop) and subjecting them to thermal shock and vibration. Run the assembly from -40°C to 105°C (or whatever your operating range is) for 500 or 1000 cycles. Then, and only then, measure the retention force.
If the pin pulls out with less force than the weight of the cable harness attached to it, you have a problem. It doesn’t matter if it took 50 Newtons to pull it out on the production line. If it takes 2 Newtons to pull it out after a month of thermal cycling, your product is a ticking time bomb. Physics is undefeated; don’t bet your reputation against it.


