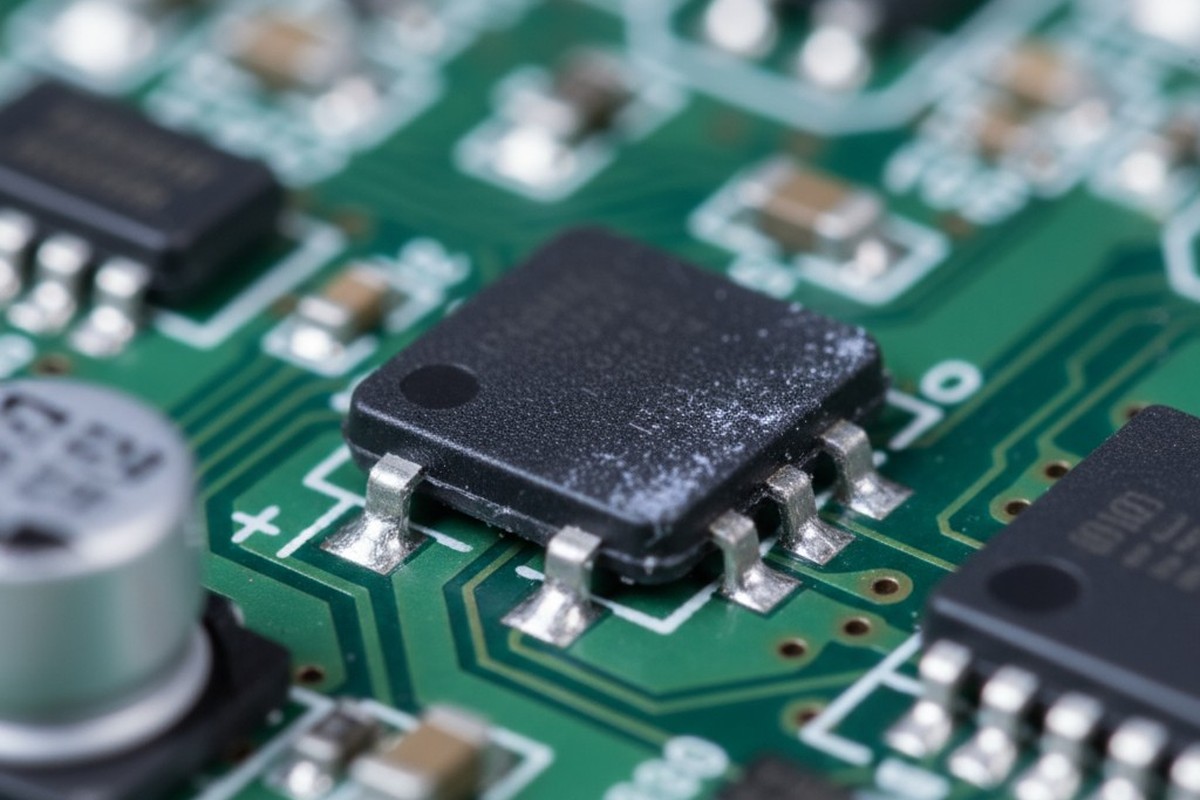
You see it after the final wash. A faint, chalky white film clinging to the board, especially around component bodies and on the solder mask. You might be tempted to ignore it, but then the conformal coating goes on. Days or weeks later, you find it peeling, blistering, or delaminating. The coating has failed.

This is not a cosmetic flaw. It is a catastrophic failure in surface preparation, and it signals a deep-seated problem in your aqueous cleaning process. At Bester PCBA, we’ve seen this scenario play out countless times. The path out of this cycle of rework and field failures isn’t a magic chemical or a quick fix. It’s disciplined, methodical process control.
That Chalky Film Isn’t Just Ugly, It’s a Failure Mechanism
That white residue is physical proof that the surface isn’t clean. Its presence directly threatens your product’s reliability, starting with the very first layer of protection.
The Chemical Bond You’re Missing: How Residue Prevents Adhesion
Conformal coating works by forming a strong molecular bond with the surface of the solder mask and PCB laminate. This requires direct, intimate contact. The white residue, composed of insoluble mineral salts and un-rinsed saponifier, creates a microscopic barrier. It’s like trying to apply paint to a dusty wall. The coating adheres to the unstable, poorly bonded residue, not to the board itself.
It simply won’t stick. Any thermal stress, mechanical vibration, or humidity will cause the coating to lift, exposing sensitive circuitry to the very environment you meant to protect it from.
Beyond Adhesion: The Hidden Risks of Ionic Contamination
The visible chalky film is only part of the problem. Often, it’s accompanied by invisible ionic residues—conductive salts left over from flux activators or the wash process itself. Trapped under a layer of conformal coating, these ions are a ticking time bomb. When ambient humidity inevitably permeates the coating, these ions become mobile.
This fosters electrochemical migration and dendritic growth, allowing conductive metal filaments to grow between features of differing electrical potential. Such growth can lead to intermittent shorts or, eventually, a hard failure of the device in the field. The residue isn’t just preventing adhesion; it’s enabling long-term destruction.
The Common Culprits (And Why They’re Often Red Herrings)
When facing white residue, the first impulse is to blame a single, obvious variable. Process engineers often point to their standard checks, which can provide a false sense of security.
Misinterpreting the ROSE Test: A Passing Grade for a Failing Process
One of the most common refrains we hear is, “But our boards pass the ROSE test.” The Resistivity of Solvent Extract (ROSE) test is a widely used process control tool, but for this problem, it is dangerously misleading. The test measures the average bulk ionic cleanliness of an assembly by seeing how much it lowers the resistivity of a solvent solution.
It cannot detect localized pockets of high contamination, which is exactly what happens when residue is trapped under a low-standoff component. It is also completely blind to non-ionic residues, like those from overused saponifier, which are a primary cause of adhesion failure. At Bester PCBA, we view a passing ROSE test as a minimal entry requirement, not a certificate of true cleanliness. It tells you that you don’t have a massive, board-wide disaster, but it says nothing about the localized cleanliness required for reliable coating.
Is It Really the Flux? Differentiating Contamination Sources

Another common suspect is the flux. While some no-clean flux residues can appear white, their appearance and location are typically different. Flux residue is often concentrated around solder joints and can have a crystalline or crusty texture. The residue from a failed wash process, however, tends to be a more uniform, hazy film spread across the solder mask and component bodies. While you should never rule out a flux-to-process incompatibility, if the residue is widespread, your wash process is the prime suspect.
The Real Villain: The Unholy Trinity of Wash Process Failures
Stubborn white residue is rarely the result of a single error. It is almost always the product of a conspiracy of failures within the aqueous cleaning system: failed chemistry, an ineffective rinse, and an incomplete dry.
Overcooked Chemistry: When Your Saponifier Turns Against You
Saponifiers are alkaline cleaning agents designed to react with acidic rosin-based flux residues, converting them into water-soluble soaps. But the saponifier has a finite capacity. As it becomes saturated with reacted flux and other contaminants, its effectiveness plummets. Worse, if the concentration is not properly maintained, the chemistry can begin to redeposit these reacted byproducts as insoluble metallic salts onto the board surface. Your cleaning agent has become a contamination agent.
The Ineffective Rinse: When DI Water Can’t Finish the Job
The rinse stage is supposed to carry away the saponified flux and any remaining contaminants. This relies on the high purity of deionized (DI) water to act as a universal solvent. But as the rinse water dissolves contaminants from the boards, its own purity drops and its resistivity falls. If this “dirty” water is used in the final rinse, it does more harm than good. As the water evaporates, it leaves behind every contaminant it was carrying, re-depositing a film of residue across the entire assembly.
The Trapped Evaporation: Why Your Dryer Is Leaving Moisture Behind
The final failure point is the dryer. A standard convection oven that simply bakes the board is often insufficient, especially for modern assemblies with low-standoff components like BGAs and QFNs. Water, laden with dissolved contaminants from a failing rinse stage, gets trapped under these components by capillary action. The heat of the dryer evaporates the pure water, but the dissolved solids—minerals, salts, and residues—are left behind. They precipitate out of solution as the tell-tale white film, perfectly concentrated in the hardest-to-clean areas.
The Bester PCBA Playbook: A Disciplined Process for Clean Surfaces
Defeating white residue requires shifting focus from finding a culprit to mastering the process. There is no shortcut. The solution is boring, methodical, and profoundly effective. Our approach is to rigorously control each stage of the wash.
Tuning Your Chemistry: Titration, Concentration, and Temperature
Your wash chemistry must be treated as a precision process input, not a “fill and forget” liquid. This begins with managing the saponifier concentration through regular, scheduled titration to verify its strength. This data should feed an automated dosing system that maintains the concentration within the supplier’s specified window. We also control the bath temperature closely, as performance can vary significantly with heat. An exhausted or diluted wash bath is a primary source of the problem, and disciplined monitoring is the only prevention.
Mastering the Rinse: The Power of Dynamic Resistivity Control
A clean rinse is non-negotiable. We insist on a multi-stage, counter-flow rinse where the final stage uses only the purest DI water. Control hinges on a real-time resistivity sensor in the final rinse outflow. This sensor confirms the water leaving the board is exceptionally clean; our target is a resistivity of 10 MΩ-cm or higher. If the resistivity drops, it’s a clear signal that contaminants are being dragged into the final rinse, and the process must be halted and corrected. This dynamic control ensures the last liquid your board touches is pure enough to leave nothing behind.
Engineering the Dry: Air Knives and Purging Profiles

You cannot simply bake a complex board dry. You must physically force the water out from under low-standoff components before evaporation begins. Our drying profiles are engineered to do exactly this. The process starts with high-velocity, directed air knives that purge the bulk of the water, especially targeting tight spaces. Only after this physical removal does the thermal stage begin, ensuring that any remaining moisture is minimal and free of dissolved solids. This prevents water from evaporating and leaving its contaminant load behind.
Policing the Process: How We Verify True Cleanliness
Fixing the process is the first half of the battle. The second half is ensuring it stays fixed. You cannot manage what you do not measure, and for true cleanliness, you need a tool that sees what the ROSE test misses.
Beyond ROSE: Why Ion Chromatography is the Gold Standard

For diagnosing residue issues and qualifying a cleaning process, we rely on Ion Chromatography (IC). Unlike the ROSE test’s bulk average, IC is a forensic analytical technique. It separates and quantifies the specific ionic species present in a solvent extract from the board. An IC test can tell you not just that your board is contaminated, but precisely what the contaminants are—be it sulfates from an exhausted wash, weak organic acids from flux, or bromides from the laminate. This level of detail is essential for root cause analysis and proves unequivocally that a process is clean.
Establishing a Baseline and Monitoring for Drift
We don’t just use IC to solve problems; we use it proactively. Once a cleaning process is optimized, we perform IC analysis on a “golden” board to establish a detailed chemical fingerprint of a perfectly clean assembly. This becomes our baseline. We then perform this test periodically to monitor the process. Any deviation from that baseline is an early warning that part of the process—the chemistry, the rinse, the filtration—is beginning to fail. This allows us to intervene long before the problem manifests as visible white residue, ensuring consistent, reliable results for every board we produce.


