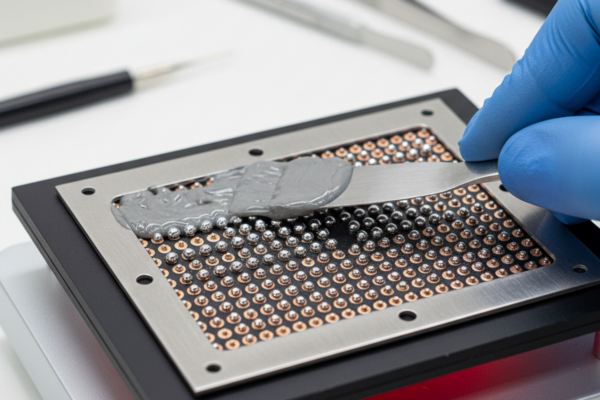
The label on the reel is perfect. The font is correct, the logo sharp, the date code plausible. The vacuum seal is tight, and the humidity indicator card is fresh. To the naked eye—and even to a standard acetone swipe—the component is legitimate. But inside that black epoxy package, the silicon die might be a cheaper clone, a damaged pull from e-waste, or simply not there at all.
Visual inspection in the modern supply chain is security theater. While it remains the first line of defense, sophisticated “blacktopping” techniques and laser remarking have rendered the traditional “smell test” dangerously insufficient. Counterfeiters in Shenzhen know exactly what the IDEA-STD-1010 standards look for, and they have optimized their production lines to pass those checks. If you rely solely on how a part looks to protect a production line that costs $20,000 an hour to run, you are gambling with odds that get worse every year.
The only way to know the truth without a million-dollar functional test jig is to interrogate the physics of the device itself. You have to stop looking at the plastic and start measuring the silicon. Enter the most pragmatic, under-utilized tool in the gray market gatekeeper’s arsenal: V-I Curve Tracing. It is the only scalable bridge between the superficiality of visual inspection and the crushing expense of full functional testing.
The Geometry of Impedance
To see why curve tracing works where vision fails, strip the component down to its electrical first principles. Every pin on a microchip connects to internal circuitry—protection diodes, transistors, and parasitic capacitances—that holds a unique electrical signature. When you apply a voltage to a pin and measure the current that flows in response, you aren’t just checking for continuity; you are mapping the impedance of that specific path.
This isn’t a digital test. You aren’t asking the chip to “boot up” or execute code. You are treating the complex integrated circuit as a network of analog components. By applying a sine wave of voltage (AC signal) to a pin relative to a common reference (usually ground), you generate a graphical plot of Voltage (X-axis) versus Current (Y-axis). This plot is a Lissajous figure, a visual fingerprint of the silicon structure connected to that pin.
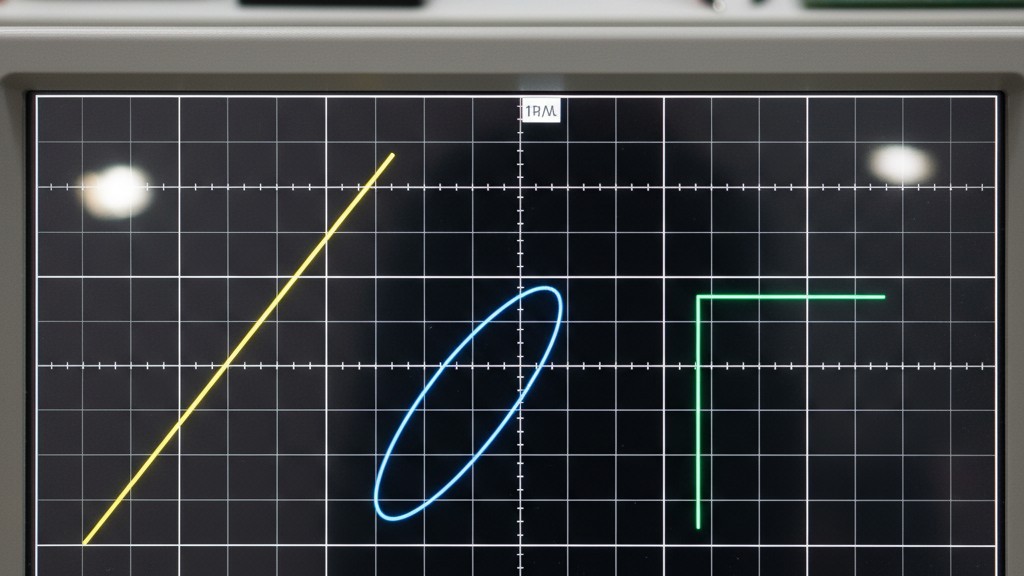
A pure resistor appears as a straight diagonal line, its slope determined by Ohm’s law. A capacitor creates a circle or ellipse, reflecting the phase shift between voltage and current. A diode—the most critical structure for detecting fakes—creates a sharp “knee” shape, conducting current only after the voltage exceeds its forward bias threshold. When you combine these, the complex internal structure of a microcontroller or FPGA creates a composite signature that is incredibly difficult to fake without the actual silicon die being present.
Management loves to ask why we don’t just plug the part in and see if it works. This is the “Functional Test” trap. Building a test jig that powers up a specific BGA, programs it, and runs it at speed requires weeks of Non-Recurring Engineering (NRE) time. If you are buying fifty different shortages a month, you cannot build fifty custom test rigs. Curve tracing is generic. It cares only about the V-I relationship, meaning the same Huntron Tracker or ABI Sentry can test an op-amp, a microprocessor, and a power MOSFET in the same hour.
The Golden Unit Constraint
But one hard constraint separates successful screening from dangerous guessing: you cannot analyze a V-I curve in a vacuum. A datasheet will tell you the logic levels and the pinout, but it won’t show you the parasitic diode curves or the specific capacitance of the Vcc pin. Those characteristics are artifacts of the manufacturing process, not the functional specification. To know if a curve is “wrong,” you must know what “right” looks like.
You need a Golden Unit.
This is a known good part, sourced directly from an authorized distributor like Digikey, Mouser, or Arrow, or pulled from a board that has been running in the field for years. Without a physical Golden Unit to compare against, curve tracing is limited to finding dead shorts or open circuits. You cannot detect a subtle die revision change or a high-quality clone without a reference standard. If you are navigating the gray market without a library of verified parts, you are flying blind.
This reality often clashes with the assurances of brokers who offer “New Original” parts with Certificates of Conformance (CoC). A piece of paper can be photoshopped in five minutes; a silicon die cannot be forged so easily. If a broker sends you a CoC but cannot provide a trace report comparing the lot to a Golden Unit, that paper is worthless. Treat the physical comparison as the only source of truth.
Executing the Sweep
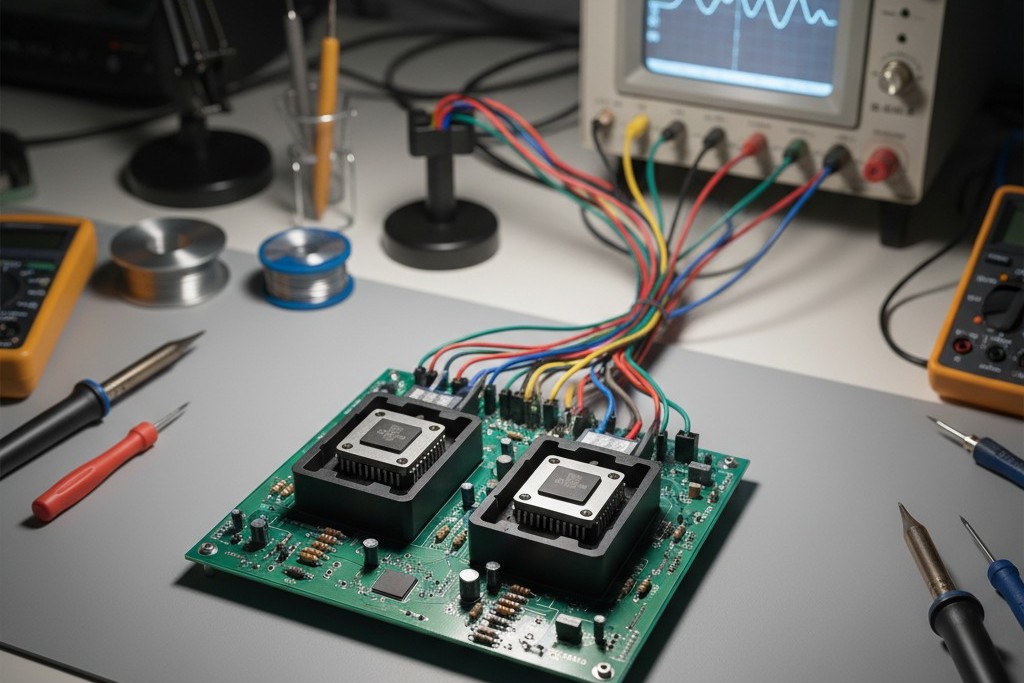
The actual process of curve tracing is a study in comparative anatomy. The goal is to sweep every pin of the suspect part and compare it in real-time to the Golden Unit. In a professional setup, this is done using a “flying probe” system or a custom fixture with two ZIF (Zero Insertion Force) sockets—one for the Golden Unit, one for the suspect.
The equipment applies an AC voltage, typically starting at a safe level like 3V peak-to-peak, with a current limit to prevent damaging the device (often 10mA or less). The frequency of the sine wave matters; a scan at 50Hz might miss a capacitive variance that pops out at 2000Hz. A competent engineer will run a “sweep,” cycling through multiple frequencies and voltage ranges to stress the internal junctions differently.
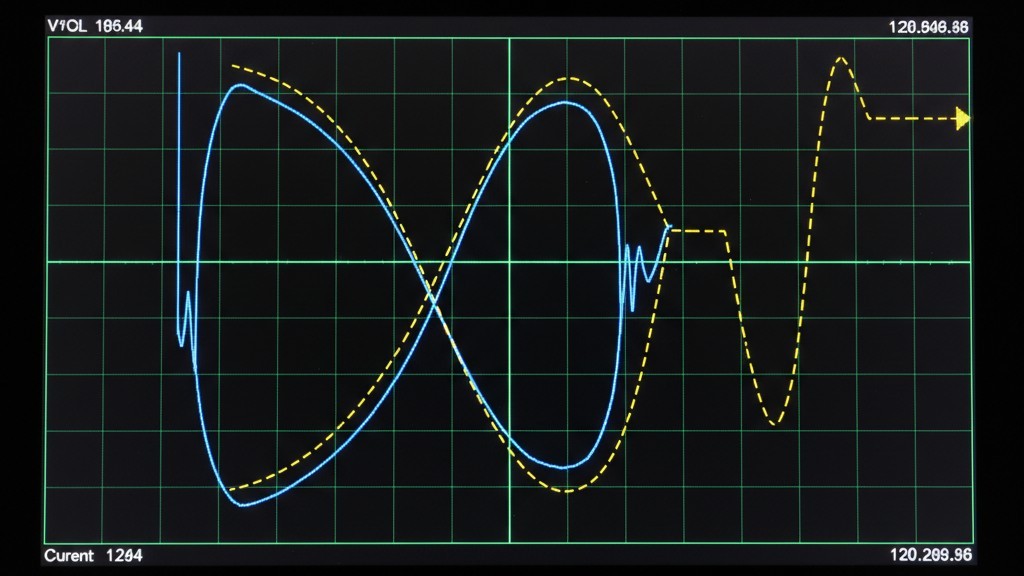
What you are looking for on the screen is deviation. Modern systems like the Huntron Tracker 3000 will rapidly switch between the Golden Unit and the suspect part, overlaying their curves. If the parts are identical, the line appears solid and stable. If they differ, the line “dances” or splits. A resistive slope might be slightly flatter, indicating a different doping concentration. The “knee” of a protection diode might break over at 0.6V on the real part but 0.7V on the fake. These subtle shifts are the smoking guns. They tell you that the die inside the package was not made on the same fab line as your reference.
Grounding matters. The most robust method is “Common Ground,” where the ground pin of the chip is connected to the instrument’s return. However, in “Common Common” mode—where you test pin-to-pin without a fixed ground reference—you can sometimes find faults that hide in the power rails. The setup is manual, repetitive, and unglamorous, but it is the only way to see the electrical reality of the lot.
Signatures of Failure
When you commit to this level of testing, you stop finding “bad parts” and start categorizing scams. The most egregious and common failure is the “Open Circuit” signature on all pins. This happened famously during the 2021 shortages with Xilinx Spartan-6 FPGAs. The packages were pristine, the laser markings were perfect, and the ball grid array looked correct. But under the curve tracer, every single I/O pin showed a flat horizontal line—an open circuit. The package contained either a dummy die or no die at all. No amount of acetone swiping would have caught it, but the physics revealed it instantly.
A more insidious threat is the “Wrong Die” or “Remarked” component. Consider the case of high-end audio op-amps like the OPA627, which cost twenty dollars each. Counterfeiters will take a fifty-cent TL072, which has the same pinout, sand off the markings, and laser-etch “OPA627” onto the surface. If you plug this into a circuit, it will work—sound will come out. But it will sound terrible. A curve trace reveals this immediately: the input impedance signature of a TL072 is distinct from an OPA627. The curves won’t match the Golden Unit. Variance exposes the scam, not failure.
This is where reliance on X-ray inspection can breed false confidence. An X-ray can confirm there is a die inside and that the bond wires are connected. It looks “good.” But an X-ray cannot tell you if that die is a commercial-grade part being sold as “Industrial Temp,” or if it has been electrically damaged by ESD (Electrostatic Discharge) during a previous life. We have seen parts that look perfect under X-ray but show “noisy” resistive curves on the power pins—a hallmark of internal corrosion from a component that was pulled from e-waste and re-tinned. The structure is there, but the integrity is gone.
The Edge of Certainty
Curve tracing isn’t magic. It cannot guarantee that a chip will run at its full rated clock speed or that its internal memory is error-free. It is a passive test, not a functional one. However, in the hierarchy of risk management, it is the highest-value gatekeeper available to a manufacturing line.
If you catch a reel of fake microcontrollers at the receiving dock, you lose time and the cost of the parts. If those parts make it onto the pick-and-place machine and get soldered onto a thousand boards, you lose the production run. If they make it to the customer and fail in the field, you lose your reputation. The curve tracer is the firewall that prevents the $20 fake part from becoming a $20,000 recall. The physics don’t lie, but you have to be willing to ask them the question.


