A high-density backplane is the nervous system of complex equipment. When one fails in the field, the consequences can be catastrophic, leading to costly downtime, repairs, and a loss of customer trust. We see a persistent, troubling trend of these failures originating from what should be a highly reliable component: the press-fit connector. But the connectors themselves are rarely the issue. The problem stems from a fundamental misunderstanding of the entire press-fit system, hidden by a veneer of cosmetic acceptance.
Press-fit reliability isn’t an art; it’s a brutal science of force and friction. A successful connection is the result of a rigorously controlled system where the plated-through hole in the circuit board and the compliant pin of the connector are treated as a single, precision-engineered assembly. Too many designs leave this to chance, creating connections that pass visual inspection but are ticking time bombs. At Bester PCBA, we engineer for certainty. This requires a shift in mindset—from hoping for a good fit to demanding one.
The Illusion of a Good Connection
The most dangerous press-fit connection is one that looks perfectly fine. A pin seated flush against the board gives a false sense of security, an illusion often compounded by a deeply problematic practice: applying cosmetic solder to a loose pin to “tighten it up.”
Adding solder to a press-fit pin is not a repair; it is an admission of failure. It fails to create the robust, 360-degree gas-tight joint the technology is designed for. Instead, it forms a brittle, unreliable electrical bridge that hides the root cause: an improperly formed hole. The solder masks the lack of required retention force, creating a latent defect that will inevitably fail under thermal cycling, vibration, and mechanical stress. A press-fit connection either seats to spec and provides the required mechanical retention, or it is a defect. There is no middle ground.
The Physics of a Permanent, Gas-Tight Joint
To understand why shortcuts fail, you have to respect the elegance of a proper press-fit connection. The “compliant” section of a press-fit pin is a precision spring. As it’s pressed into a correctly sized plated-through hole (PTH), this section deforms elastically, generating a powerful, continuous radial force against the barrel of the hole.
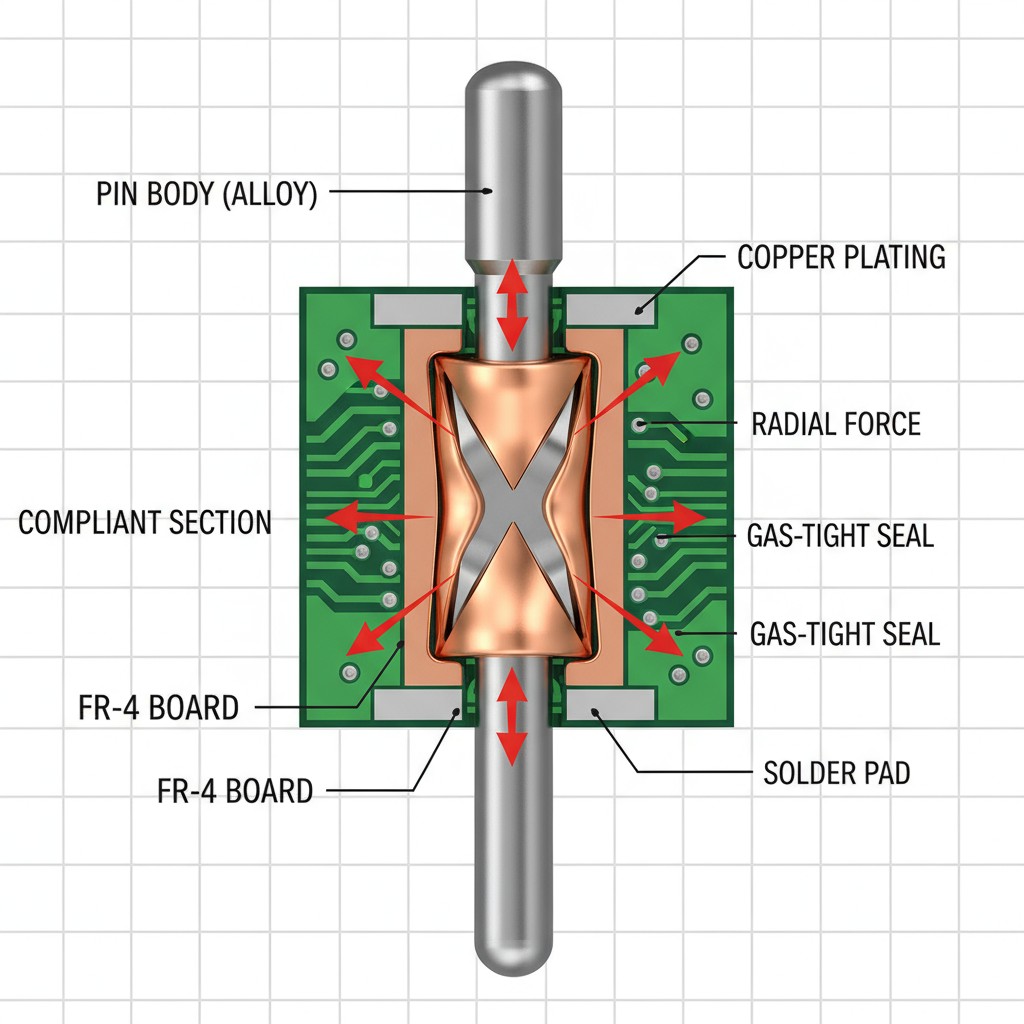
This constant force creates the gas-tight joint. At multiple points of contact, the pressure between the pin and the copper-plated barrel is so high that it prevents oxygen and other corrosive agents from penetrating the interface. This cold-welded connection ensures a stable, low-resistance electrical path for the life of the product. The entire system relies on two critical forces: the insertion force required to seat the pin and the retention force that holds it in place. Both are direct results of the interference fit between the pin and the hole. If that interference is wrong, the entire system breaks down, and the failure point is almost always the same: the plated-through hole.
The Unforgiving Heart of the System: The Plated-Through Hole
Every variable in the press-fit system converges on the plated-through hole. The connector pin is a known constant, manufactured to tight tolerances. The PTH, however, is a product of multiple, highly variable manufacturing processes—especially on thick backplanes with mixed copper weights.
Why “Finished Hole Size” Is a Dangerous Abstraction
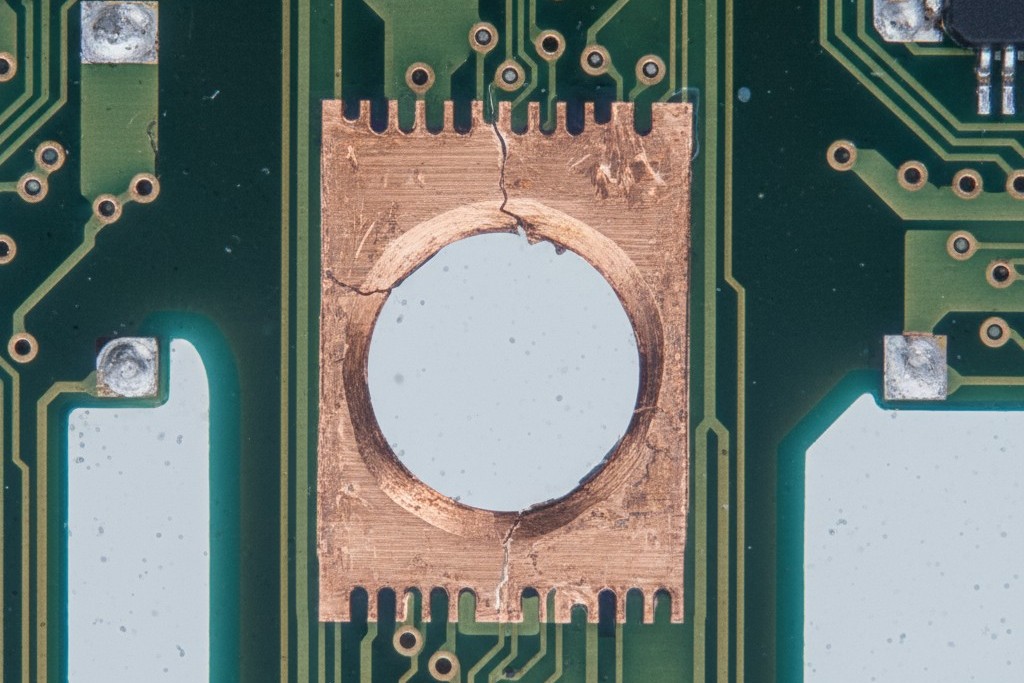
Designers often specify a “finished hole size” with a tolerance and assume the job is done. This is a critical error. That final dimension is the result of a drilled hole that has been subsequently plated with copper. On a thick board, achieving a uniform layer of copper plating through a high-aspect-ratio hole is exceptionally difficult. The plating solution flows less freely in the middle, often resulting in a barrel or hourglass shape where the diameter is inconsistent along its Z-axis. A pin-gauge check might pass, but the actual contact area and radial force will vary dramatically, compromising the connection.
The Critical Role of Plating Thickness and Uniformity
This brings us to the factor most often neglected in board specifications: the copper plating thickness within the hole. The plating’s thickness and uniformity directly determine the final hole diameter, surface finish, and the structural integrity of the barrel that must withstand the high insertion force. Uneven plating, often caused by inconsistent copper distribution across the board, leads to inconsistent hole diameters. This is the root cause of inconsistent insertion and retention forces.
At Bester PCBA, our approach is to move beyond generic specs. We demand that the plating process be defined and controlled to produce a hole that meets the retention force numbers specified by the connector manufacturer’s data sheet. We work with fabricators to validate their process not just on hole size, but on the real-world mechanical performance of the final assembly. The specification must serve the physics.
Non-Negotiable Design Rules for Press-Fit Reliability
A reliable press-fit system begins on the designer’s canvas. The PCB layout must be executed with the explicit goal of creating a stable and consistent environment for every single plated-through hole.
Thermal reliefs are an enemy of press-fit reliability. They create voids in the copper plane that allow the hole barrel to flex and deform during the high-force insertion process, reducing the critical radial force. More importantly, these interruptions cause inconsistent heat distribution during plating, contributing directly to the non-uniform copper deposition we seek to avoid. All press-fit pads must have a solid, direct connection to copper planes. The area around the press-fit hole must be as mechanically stable as possible, which means using solid copper pours on all connecting layers. This provides a rigid foundation for the PTH barrel, ensuring insertion force deforms the compliant pin, not the board itself, while also promoting a more even current density during plating.
Verification, Not Wishful Thinking
You cannot inspect quality into a product. A reliable press-fit process is built on control and verification, not visual checks and hope. Once the design is sound, the focus must shift to ensuring the assembly process consistently produces the engineered result.
In-Process Force Monitoring
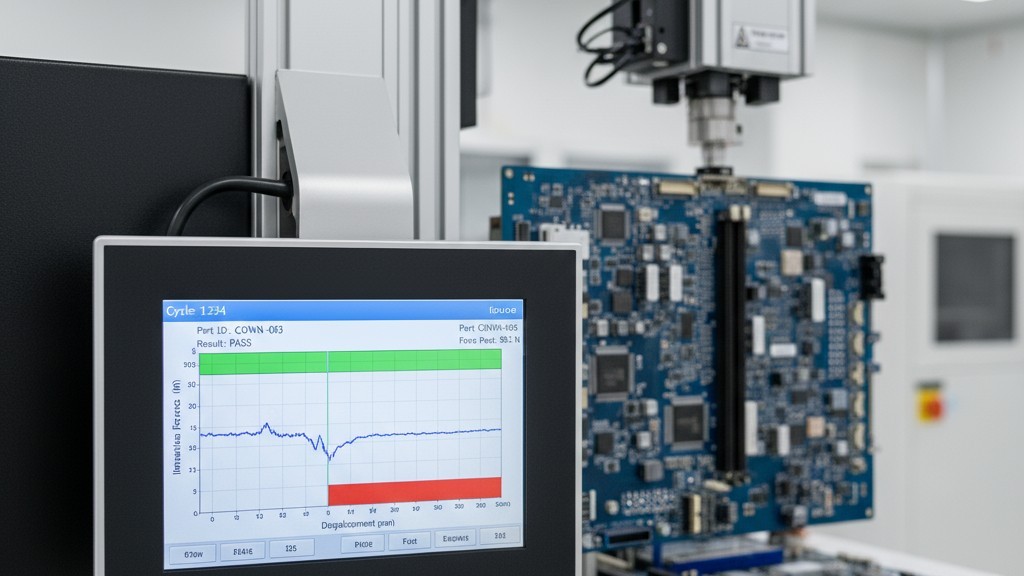
The single best indicator of a successful press-fit connection is the insertion force profile. The press equipment should monitor and log the force required to seat every pin. This data, when compared against the connector manufacturer’s specified limits, provides immediate pass/fail feedback. A pin that seats with too little force has a loose fit and will fail. A pin requiring excessive force may have damaged the PTH barrel. This data is the first line of defense against process drift.
The Ultimate Proof: Micro-Section Analysis
During process validation and for periodic quality checks, there is no substitute for destructive testing. A micro-section of a press-fit connection reveals the absolute truth. It allows you to visualize the deformation of the compliant pin, the integrity of the PTH barrel, and the quality of the contact points. It is the final, undeniable proof that your design, materials, and processes have combined to create the robust, gas-tight joint required for long-term reliability.
From Specification to Reality: Partnering with Your Fabricator
The specifications required for a truly reliable press-fit system are demanding and require a PCB fabrication partner with advanced capabilities and a deep understanding of the process. Simply sending a drawing with a tight hole tolerance to the lowest-cost supplier is a recipe for disaster.
Success requires a partnership. It involves clear communication of not just the specifications, but the intent behind them. It means having conversations about plating processes, the ability to control uniformity on high-aspect-ratio holes, and methods for verification. A capable partner will welcome this technical engagement; a less capable one will push back. This is why we insist on managing this critical interface for our clients—to ensure the fabricator understands the stakes and has the process controls in place to deliver a board that meets the mechanical, not just the dimensional, requirements. Your backplane’s reliability depends on it.

