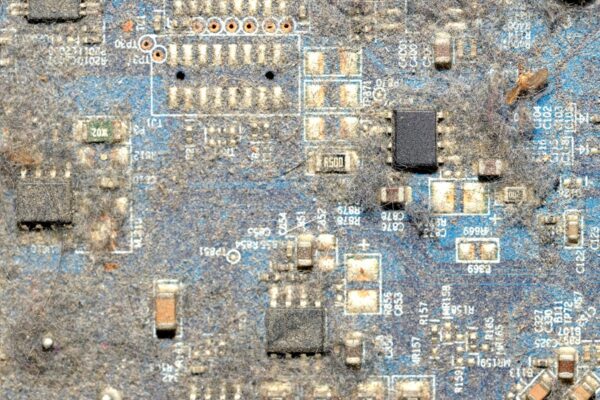
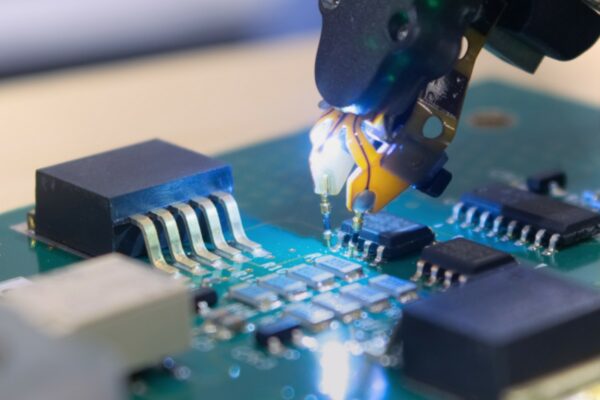
A single popcorn failure can scrap an entire board. When it happens at final inspection—or worse, in the field—the cost multiplies. The cracked component, the rework, the delayed shipment, and the erosion of customer trust all stem from one preventable cause: moisture absorbed into plastic packages that explosively vaporizes during reflow soldering. For teams handling MSL3 and higher components, this isn’t a rare accident. It’s a predictable failure that occurs when floor life controls break down or baking procedures drift outside safe parameters.
The solution isn’t guesswork; it’s systematic control. Proper Moisture Sensitivity Level (MSL) handling is not an advanced quality initiative for high-volume operations. It is a basic operational discipline. Even small teams can implement it with manual tracking, modest dry storage, and rigorous adherence to proven baking profiles. Building that system is hard, however, because the required knowledge is often scattered across standards, vendor guidelines, and tribal knowledge.
This guide provides a complete operational framework for MSL3 through MSL6 components. We will cover the physics of moisture damage, define the vocabulary of MSL ratings and floor life, and then walk through the practical steps to track, store, and bake components—all in a way that prevents failures without overwhelming a small team. The focus is on reliable, maintainable systems, not on replicating enterprise infrastructure.
Why Moisture Destroys Components During Reflow
At a microscopic level, plastic-encapsulated components are porous. When exposed to normal atmospheric conditions, they absorb moisture from the air, which diffuses into the plastic compound and the interfaces between the die, die attach, and molding compound. This isn’t surface condensation; it’s a deep absorption where water molecules migrate into the material matrix, driven by the humidity gradient between the package and the surrounding air. The rate of absorption depends on the package, the plastic, and the ambient humidity, but for any non-hermetic package, it is inevitable.
The disaster happens during reflow soldering. As a moisture-laden component ramps toward the 250–260°C peak required for lead-free solder, the absorbed water doesn’t just evaporate. It vaporizes violently inside the sealed package. The trapped water vapor causes internal pressure to spike, exceeding the mechanical strength of the bonds between the die, molding compound, and other internal layers.
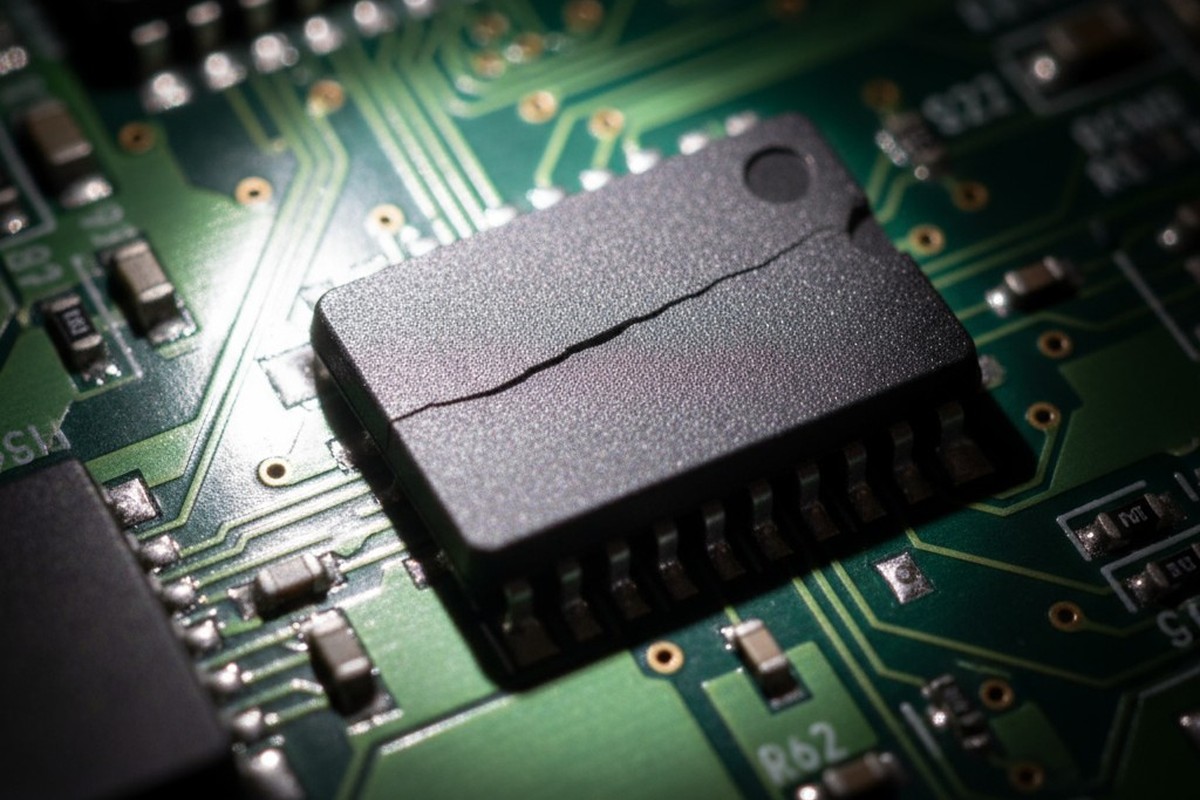
The result is delamination, where layers separate, or an outright crack in the package. This is the “popcorn effect,” named for the audible pop a component can make as it fractures on the belt. Many failures, however, are silent, discovered only later during inspection or after a field failure.
The stress is highest in larger packages and those with mixed materials that expand at different rates. A small SOT-23 might tolerate more moisture than a large BGA or QFN because the vapor volume and mechanical leverage are smaller. This is precisely why MSL ratings exist: they quantify a package’s tolerance for moisture, providing a hard time limit for how long it can be exposed to air before it becomes a time bomb in the reflow oven.
Understanding this mechanism is crucial. Floor life limits are not arbitrary. The failure is probabilistic—some parts in a batch may survive while others crack—which can create the false impression that controls are unnecessary, right up until a critical failure occurs in a high-value assembly.
What Popcorn Failures Look Like
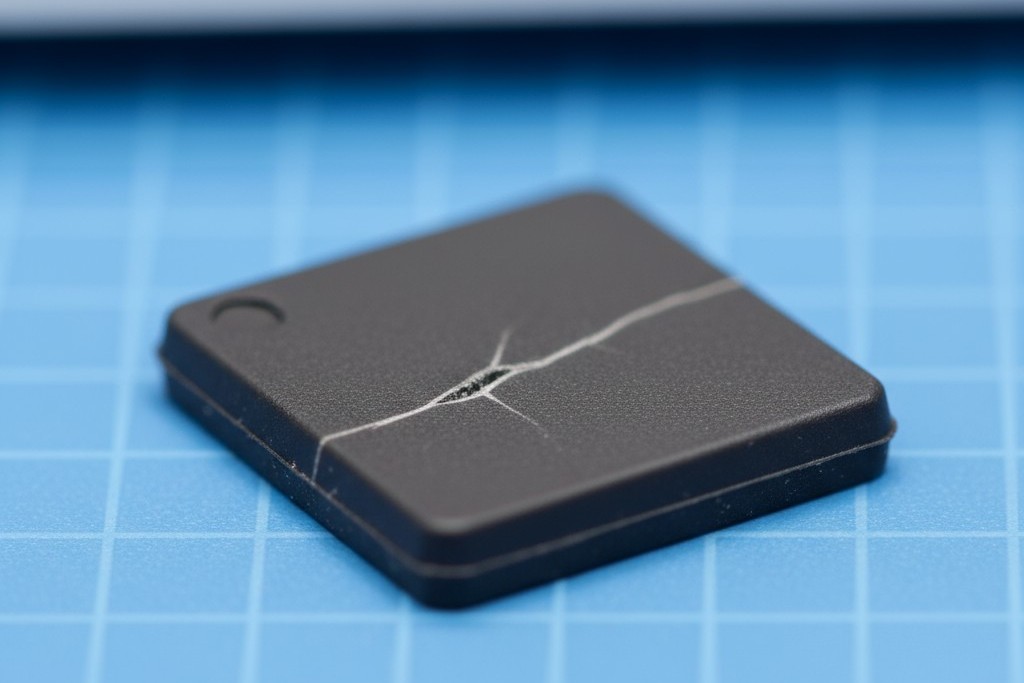
Recognizing a popcorn failure requires knowing where to look. Externally, the most obvious sign is a crack on the package surface, often running from an edge toward the center. In severe cases, the package may bulge as the top surface lifts from internal delamination. These are the failures caught during a good visual inspection.
Many failures are internal and invisible to the naked eye. Delamination between the die and the leadframe doesn’t always propagate to the surface. These latent defects may pass visual and even basic electrical tests, only to manifest as intermittent connections after thermal cycling in the field. This is what makes popcorn failures so insidious: the damage is done during reflow, but the symptom may be delayed by weeks or months. For teams with X-ray inspection, delamination appears as dark voids at internal interfaces, often near the die edges.
By the time you see a popcorn failure, your control system has already broken down. The goal is prevention, which begins with understanding and respecting MSL ratings.
How MSL Ratings Define Your Control Requirements
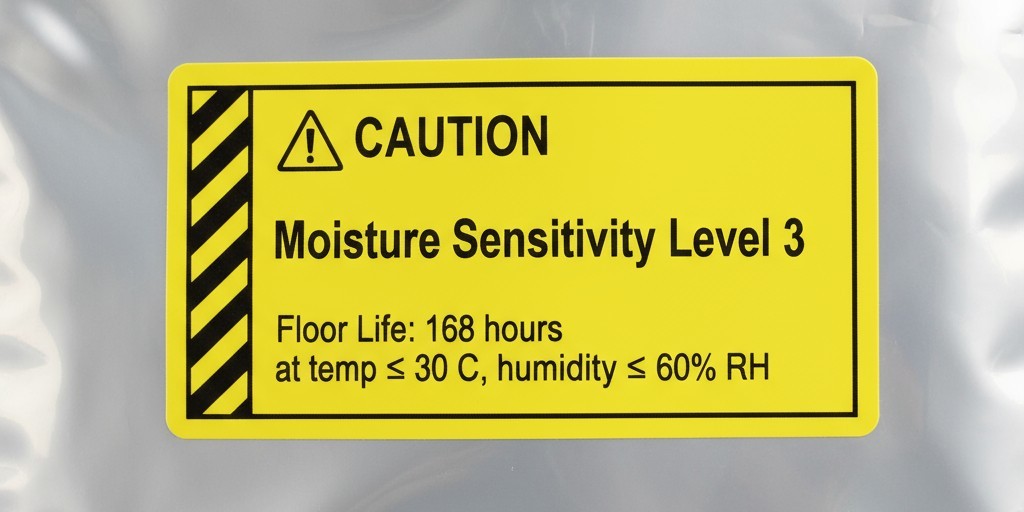
Moisture Sensitivity Level ratings, defined by IPC-JEDEC J-STD-020, categorize components based on how long they can be exposed to ambient conditions before they risk reflow damage. The manufacturer determines the rating through controlled testing and prints it on the moisture barrier bag (MBB) and in the datasheet. For a production team, the MSL rating drives every decision about floor life tracking and storage.
Ratings range from MSL1 (unlimited floor life) to MSL6 (a few hours of exposure before mandatory baking). The levels that demand attention are MSL3 and higher, where floor life is short enough to expire during normal production.
- MSL3: 168 hours (one week) floor life at ≤30°C and 60% RH.
- MSL4: 72 hours (three days).
- MSL5: 48 hours.
- MSL5a: 24 hours.
- MSL6: Must be reflowed within the time-on-card (TOC) specified on the label, often just 4 to 6 hours. These are rare but critical to track.
The clock starts the moment the moisture barrier bag is opened. It doesn’t matter if the components are on a shelf or being placed on a board; the absorption is continuous. The only way to stop the clock is to return the components to a dry environment (below 10% RH) or to bake them to reset their condition.
Finding the MSL rating is simple. The bag components arrive in will have a label listing the MSL, floor life, and the conditions under which it applies. If the label is missing, the component datasheet will specify the rating. For small teams, maintaining a simple reference list that maps frequently used part numbers to their MSL levels can save significant time.
One critical nuance: floor life is not a universal constant. The standard values assume 60% RH or lower. If your production floor is more humid, the effective floor life shortens. The conservative approach is to always use the standard values rather than trying to adjust for local conditions, which introduces risk from measurement error.
Why MSL1 and MSL2 Components Are Different
MSL1 components have an unlimited floor life under standard conditions. They are typically hermetically sealed (e.g., ceramic packages) or are very small plastic packages. MSL2 components have a floor life of one year, which is too long to require active tracking in any realistic production scenario. Your focus, and the focus of any operational MSL system, should be on MSL3 and higher—the components that can and will expire during a normal production cycle.
Tracking Floor Life Without Enterprise Software
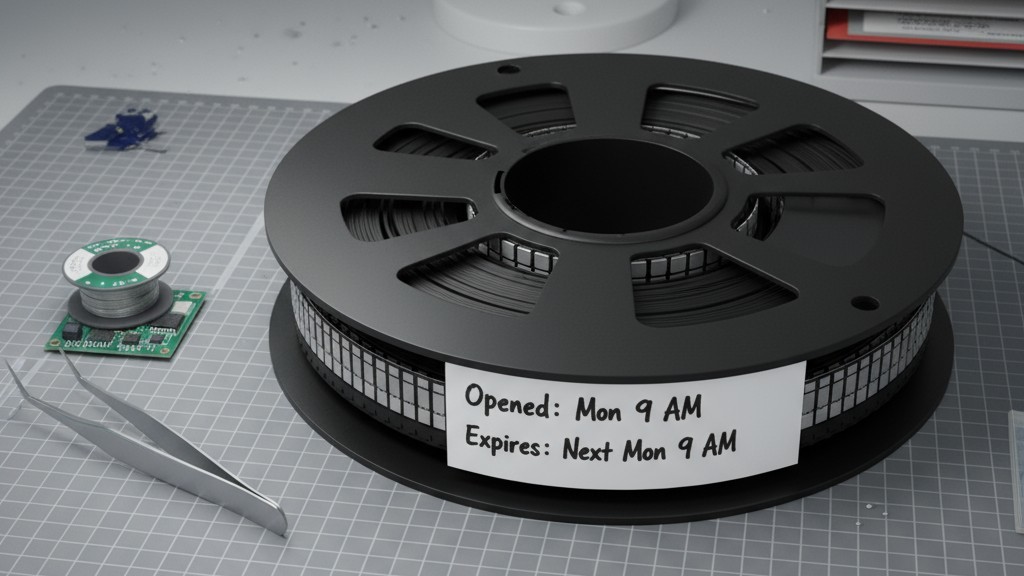
The principle of floor life tracking is simple: record when a moisture barrier bag is opened, calculate the expiry time, and ensure the component is used or returned to dry storage before that deadline. Small teams don’t need MES software for this; they need a disciplined manual process.
The most straightforward method is a label on the component packaging. When a bag is opened, write the open date and time directly on it with a permanent marker. To eliminate guesswork, also write the calculated expiry date and time. For example, for an MSL3 component opened on Monday at 9 AM, the label should read: “Opened: Mon 9 AM, Expires: Next Mon 9 AM.” This visual cue lets anyone assess the component’s status at a glance.
To add urgency, some teams use color-coded stickers: green for more than 48 hours remaining, yellow for 24-48 hours, and red for less than 24. This system works well when components are on open shelves and operators need to quickly identify parts nearing expiry.
For centralized tracking or audits, a simple spreadsheet log is effective. It should include columns for part number, MSL, bag ID, open time, expiry time, and status. When a bag is opened, an entry is created. When it’s consumed, the entry is closed. If it’s moved to dry storage, the status is updated to “paused.” This approach requires real-time discipline but provides a valuable record for tracking trends and supporting root cause analysis.
Shift handoff is a common failure point. An operator might open a bag near the end of a shift and fail to communicate it to the next team. Establish a handoff protocol where the outgoing operator verbally communicates any newly opened bags or, better yet, maintains a handoff log. This redundancy ensures tracking doesn’t depend on one person’s memory.
Manual systems work well for small to medium volumes with fewer than 20-30 active MSL bags at once. When complexity grows, that’s the time to invest in software and barcode scanning. Until then, simplicity and consistency are key.
Dry Storage Solutions for Small Teams
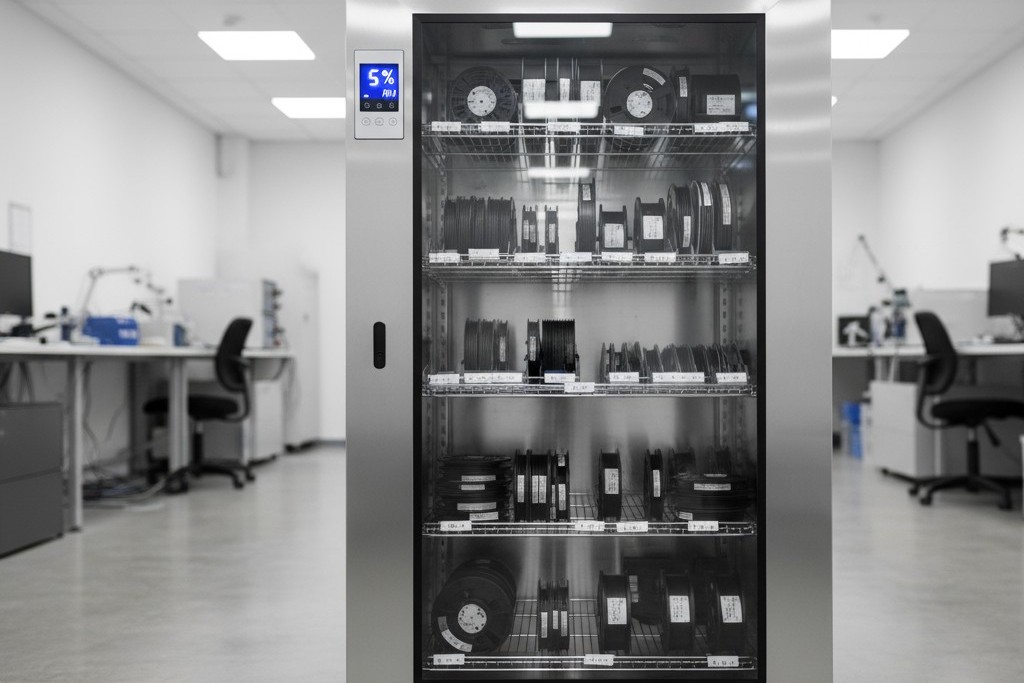
Dry storage creates an environment with relative humidity low enough (below 10% RH) to halt moisture absorption, effectively pausing the floor life clock. Ideally, you should aim for 5% RH or lower to provide a safety margin. This requires either a powered dry cabinet or a passive desiccant dry box.
Dry cabinets are the preferred solution. These powered units use sensors and automatic desiccant regeneration or a nitrogen purge to maintain a set humidity level. When you open the door, the system automatically recovers to its target RH within minutes. This makes them ideal for active inventory. Key specifications are internal volume, recovery time, and humidity range. A cabinet that maintains ≤5% RH and recovers within 30 minutes is adequate for most small teams.
Desiccant dry boxes are the low-cost, passive alternative. These are sealed containers with trays of silica gel that absorb moisture. A hygrometer inside monitors the RH. The main disadvantage is maintenance: once the desiccant is saturated, it must be removed and baked to regenerate it. Every time the box is opened, humid air enters, and re-equilibration can take hours. Desiccant boxes are best for long-term, infrequent-access storage, not active production parts.
Regardless of the method, humidity monitoring is non-negotiable. Use a calibrated digital hygrometer inside each storage unit. Calibrate them at least quarterly against a certified reference to prevent sensor drift from giving you a false sense of security. If a cabinet’s RH creeps above 10%, the components inside are at risk, and the time they spent in that compromised environment counts against their floor life.
A common mistake is overfilling. Dry storage relies on air circulation. If shelves are packed too tightly, pockets of higher humidity can form. Leave space between items and avoid stacking bags in a way that blocks airflow.
When Floor Life Runs Out: Bake or Discard
When a component’s floor life expires, it has absorbed too much moisture for safe reflow. You have two options: bake it to drive out the moisture, or discard it. The choice depends on the component’s cost, availability, and your capacity for baking.
Baking makes economic sense for expensive or long-lead-time components. For a BGA that costs several dollars, the oven time and labor are trivial compared to scrapping the part. For low-cost passives, it’s often more efficient to discard the expired stock and open a fresh reel.
Consider the risk factor. If a component was exposed to humidity well above 60% RH, the standard bake profile may not be enough. In such cases, the conservative choice is to discard it rather than gamble on an incomplete bake. Always document the bake decision for traceability. A simple logbook entry noting the part number, bake cycle, and date is sufficient.
Extended Dry Storage as a Temporary Hold
If floor life expires but you can’t bake immediately, you can place the component in dry storage (≤10% RH). This halts further moisture absorption and holds the component in a stable state until it can be baked. This is a pause, not a reset. The component is still out of spec and must be baked before use. Label it clearly—”Expired – Awaiting Bake”—to prevent an operator from mistakenly using it. This is useful for batching multiple expired components into a single, efficient bake cycle.
Baking Profiles That Preserve Component Reliability
Baking uses a controlled oven to drive out absorbed moisture, resetting components to a dry state. The process must be aggressive enough to work in a practical timeframe but gentle enough to avoid thermal damage. Plastic compounds, adhesives, and bond wires all have thermal limits.
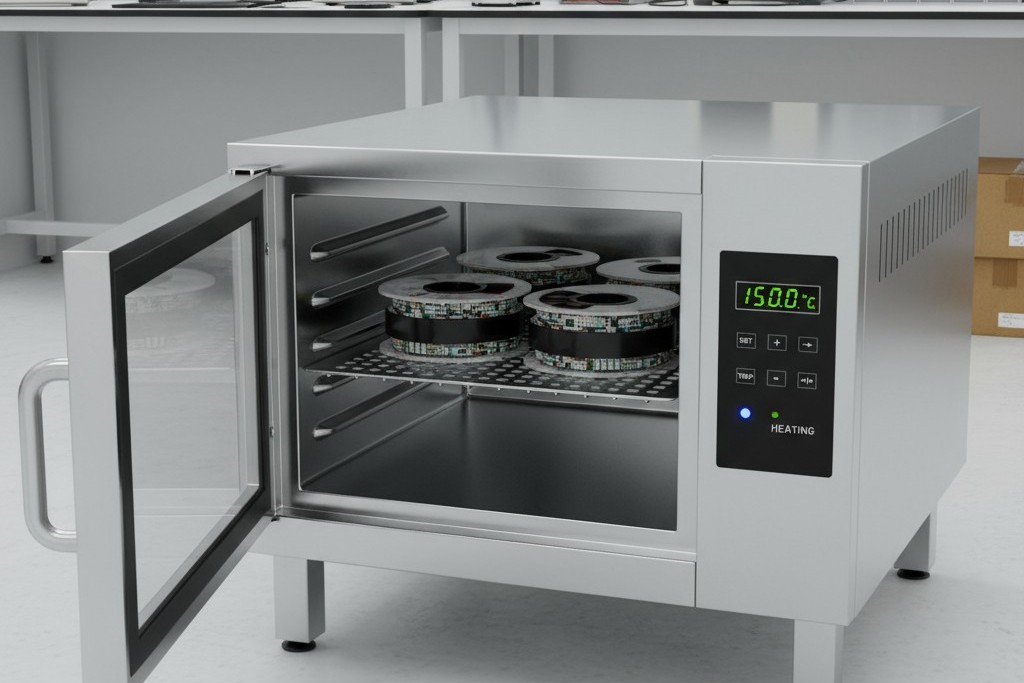
Standard baking profiles are defined in IPC-JEDEC J-STD-033. For most MSL3 components, 125°C for 24 hours is a conservative and effective profile. Thicker packages or higher MSL components might require 48 hours. Always consult the component datasheet or the IPC standard to confirm the correct profile.
The oven must have stable temperature control and forced air circulation; a standard reflow oven is not suitable. The oven must hold its target temperature within ±5°C. Load components on trays in a single layer with space for air to circulate freely. If components are in moisture barrier bags, open or remove the bags first.
The bake timer starts only when the oven reaches its target temperature, not when you load the parts. Under-baking is a common mistake that leaves residual moisture deep inside the package.
Cooling must also be controlled. Removing components from a 125°C oven and exposing them to room temperature air creates thermal shock, which can cause microcracks. The safest method is to turn off the oven and let the parts cool inside with the door closed for several hours. If faster cooling is needed, crack the door open slightly but avoid forced air.
Critical Baking Mistakes
Temperature overshoot is the most dangerous error. If the oven exceeds the component’s maximum rated temperature (often 150°C), it can cause irreversible damage that leads to field failures. Calibrate your oven annually and verify its accuracy with an independent thermocouple.
Insufficient bake time leaves moisture trapped in the package’s deeper layers. Resist the temptation to shorten cycles to speed up production. It is better to bake fewer components correctly than to rush a larger batch.
Re-baking components multiple times causes cumulative thermal aging. The IPC standard generally allows up to three bake cycles before reliability is considered at risk. If a part needs frequent re-baking, it’s a symptom of a broken floor life control process. Address the root cause—inefficient kitting, overstocking, or poor storage—rather than relying on repeated baking.
Monitoring Your System for Continued Compliance
An MSL handling system is only as effective as the discipline used to maintain it. Procedures can degrade over time without routine monitoring and auditing.
Embed simple audits into your existing quality checks. Once a week, spot-check floor life labels for accuracy. Inspect dry cabinets to confirm their humidity readouts are in spec and they aren’t overfilled. Check hygrometer calibration dates. These consistent checks signal to the team that the system is taken seriously.
Track failure trends. If popcorn failures still occur, it points to a gap in your system. Was a component handled outside the procedure? Is the procedure flawed? Is ambient humidity higher than assumed? Correlating failures with specific parts or batches allows for targeted corrective action.
Refresh team training periodically. Onboard new operators with clear instructions and hold quarterly refreshers for the existing team to review procedures and discuss recent near-misses. Training is an ongoing investment, not a one-time event.
If failures persist despite rigorous controls, it may be time for advanced analysis like scanning acoustic tomography (SAT) or X-ray inspection. These tools can identify internal delamination and other moisture-related damage invisible to the naked eye. For most small teams, this is rare, but knowing when to escalate can prevent prolonged and fruitless troubleshooting.
